Drying Beagle Ears Thoroughly After a Bath
One of the most common frustrations Beagle owners face, especially after a bath or a joyful splash in a puddle, is the lingering dampness inside those adorable, floppy ears. It's easy to just towel off the visible parts and assume the job's done, but that internal moisture is a breeding ground for all sorts of nasty infections, leading to discomfort, costly vet visits, and a very unhappy hound. This guide is here to walk you through exactly how to thoroughly and safely dry your Beagle's ears, protecting them from preventable problems and keeping that merry tail wagging.
The Hidden Dangers of Damp Beagle Ears
Those long, velvety ears are a quintessential part of what makes a Beagle so endearing, but anatomically, they’re also a bit of a design flaw when it comes to keeping them dry. Their very structure, combined with a Beagle's active, nose-to-the-ground lifestyle, creates a perfect storm for moisture retention, which is the arch-nemesis of a healthy ear canal. Ignoring this can lead to recurrent, frustrating issues for both you and your beloved companion.
Why Beagle Ears Trap Moisture So Well
Imagine trying to air out a long, narrow tunnel that's constantly covered by a heavy curtain. That's essentially what your Beagle's ear canal is like. Unlike dogs with upright ears, the Beagle's droopy ear flaps hang down, effectively sealing off the ear canal from fresh air circulation. This creates a warm, dark, and humid environment – precisely what bacteria and yeast absolutely thrive in. When water gets in, whether from a bath, swimming, or simply playing in wet grass, it doesn't evaporate easily. It just sits there, stewing.
Furthermore, many Beagles have a fair amount of hair growing inside their ear canals. This hair can act like a wick, drawing moisture deeper into the ear and holding onto it, exacerbating the problem. It also makes it harder for any air to circulate, creating an even more stagnant environment. It's a double-whammy: a closed environment and an internal structure designed to hold onto moisture. This anatomical predisposition is why Beagle Ear Infections Under Those Long Ears are such a common complaint among owners.
The Fast Track to Painful Ear Infections
That trapped moisture isn't just an annoyance; it’s a direct invitation for infections. The most common culprits are yeast (which often leads to that distinct, slightly sweet or cheesy odor) and bacteria. Once these microorganisms set up shop in the moist environment, they multiply rapidly, causing inflammation, itching, and pain. You might notice your Beagle constantly scratching at their ears, shaking their head, or rubbing one side of their face on the carpet. These are often the first signs that something is amiss.
If left unaddressed, a minor irritation can quickly escalate into a full-blown, incredibly painful infection. The ear canal can become swollen, red, and even develop discharge. Your Beagle might become withdrawn, yelp when you try to touch their head, or even develop a fever in severe cases of infection. Chronic or recurring infections can also lead to more serious complications, like a ruptured eardrum or even aural hematomas from excessive head shaking. Understanding this risk is crucial because it highlights why preventative care, like proper drying, is non-negotiable for a Beagle's well-being. This is also why owners often struggle with Beagle Yeast Ear Infections That Keep Returning if the underlying moisture issue isn't consistently managed.
Your Step-by-Step Guide to Drying Beagle Ears
Drying your Beagle's ears thoroughly isn't complicated, but it does require a bit of patience and the right tools. Think of it as a small, dedicated routine after every bath or water adventure. Making it a positive experience from a young age will also help your Beagle tolerate the process better as they get older.
Gathering Your Essential Ear-Drying Toolkit
Before you even get your Beagle wet, it's a good idea to have your ear-drying supplies ready. This saves you from scrambling around with a dripping wet dog. Your basic toolkit should include:
- Soft Cotton Balls or Pads: Avoid Q-tips, as these can push debris deeper into the ear canal or even injure the eardrum. Cotton balls are perfect for gently absorbing moisture. You can find large bags of these affordably on sites like Chewy or Amazon.
- Pet-Specific Ear Drying Solution: These solutions are formulated to help evaporate moisture and often contain ingredients that discourage bacterial and yeast growth. They are not the same as ear cleaners, but some products offer both benefits. Read the label carefully to ensure it’s suitable for post-bath drying. Many reputable brands are available through Chewy.
- Clean, Absorbent Towels: Keep a dedicated "Beagle ear towel" if you like.
- Optional: Low-Heat Pet Dryer: If your Beagle tolerates it, a pet-specific dryer on a cool or low-heat setting can be very effective for the outer ear and the entrance to the canal. Never use a human hairdryer on a high or hot setting, as this can burn their delicate skin.
Having everything within arm's reach makes the process smoother and less stressful for both of you. It's just like setting up for Cleaning a Beagle Ear Before Infection Starts; preparation is key.
The Gentle Art of Post-Bath Ear Drying
Once your Beagle is out of the tub and you've given their coat a good toweling, it's time to tackle those ears.
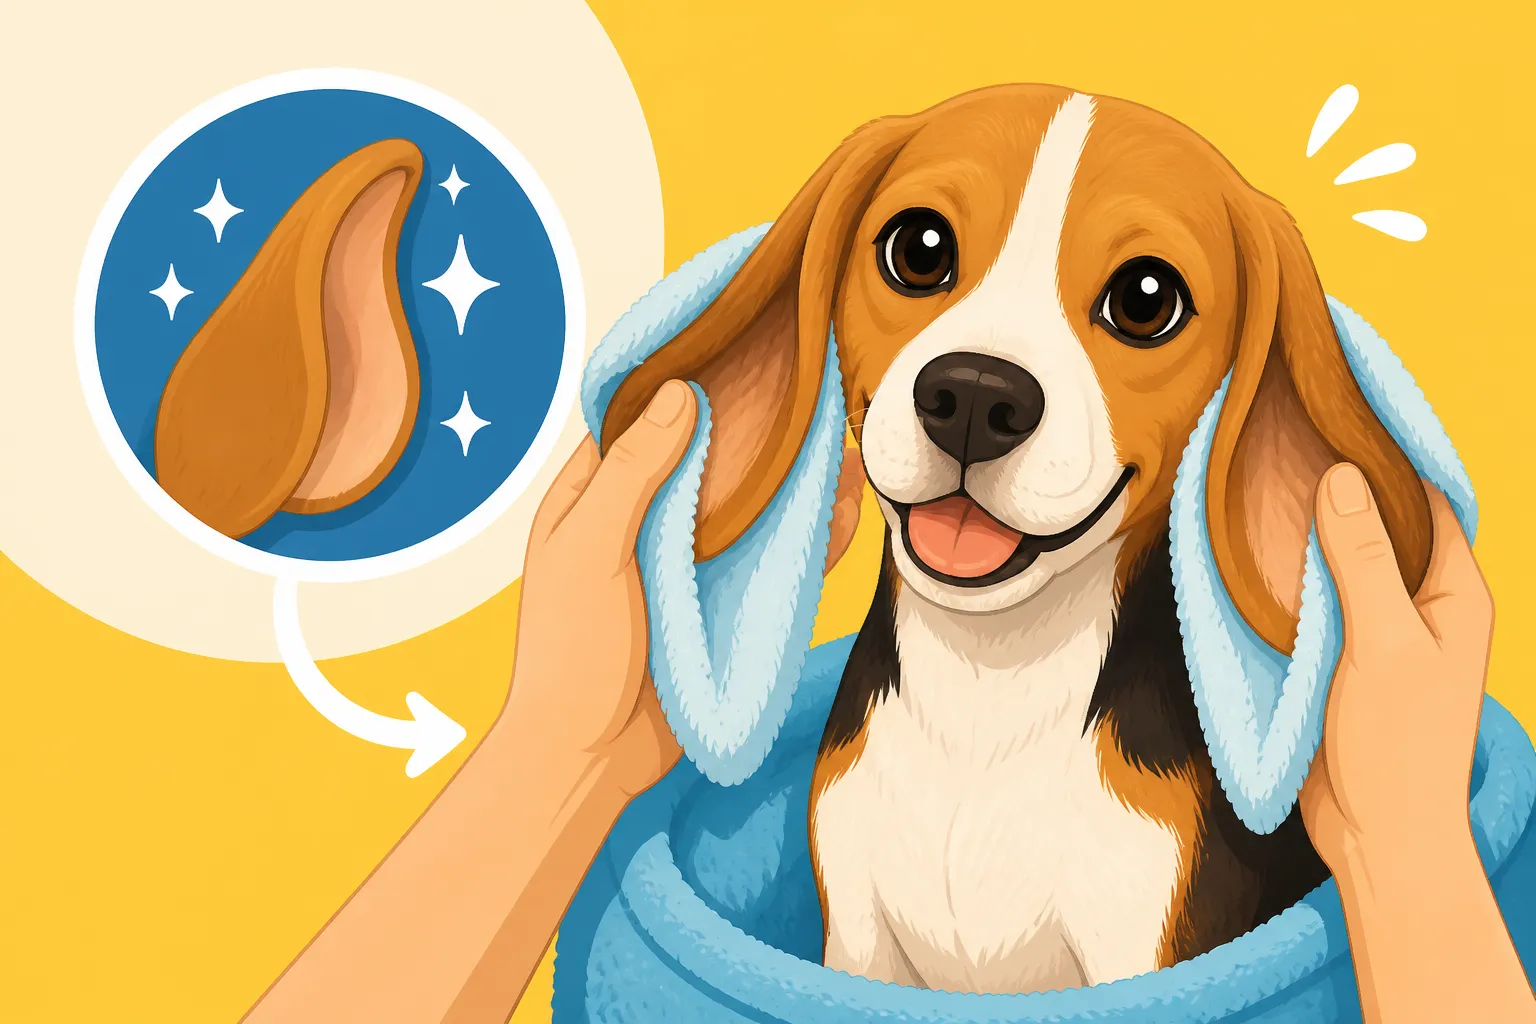
- Start with the Outer Ear Flap: Use a clean, dry towel to gently blot and wipe the entire outer ear flap, both inside and out. Pay special attention to the folds and creases where water loves to hide. Get as much visible moisture off as you can.
- Apply Ear Drying Solution: Hold your Beagle's ear flap up and squirt the recommended amount of ear drying solution into the ear canal. Follow the product instructions for exact dosage, but typically it’s a few drops or a small squeeze.
- Massage the Base of the Ear: With the solution in, gently but firmly massage the base of your Beagle's ear for about 20-30 seconds. You should hear a squishing sound, which means the solution is working its way deep into the ear canal and loosening any debris or water. This massage helps distribute the drying agent effectively.
- Let Your Beagle Shake It Out: After massaging, let go of your Beagle's ear and allow them to shake their head. They will shake, and that's exactly what you want! This action helps dislodge any loosened debris and forces excess moisture out of the deeper parts of the canal. Stand back, or you might get a misty shower.
- Wipe Away Excess: Once the shaking subsides, take a fresh cotton ball or pad and gently wipe the visible parts of the ear canal and the underside of the ear flap. You'll likely see some moisture and perhaps a bit of wax or dirt come out. Repeat with fresh cotton balls until they come out clean and dry. Remember, only wipe what you can easily see; never insert anything deep into the ear canal.
- Consider the Pet Dryer (Optional): If you're using a low-heat pet dryer, hold it at a safe distance (at least 6-8 inches) from your Beagle's ear and gently direct the airflow around the outer ear and the entrance to the canal. Keep it moving to avoid concentrating heat in one spot. This can be particularly helpful if your Beagle has thicker hair around their ear openings.
Repeat this entire process for the other ear. The goal is to ensure the ears are not just superficially dry, but that the deep canal has had a chance to expel any lingering moisture. This consistent effort, perhaps alongside a regular The Five Minute Beagle Ear Routine, makes a huge difference.
Common Drying Mistakes and How to Avoid Them
Even with the best intentions, it's easy to fall into habits that aren't ideal for your Beagle's ear health. Being aware of these common pitfalls can help you refine your routine and prevent future problems.
Over-Cleaning vs. Under-Drying
One mistake owners sometimes make is confusing cleaning with drying, or even over-cleaning. While a regular ear cleaning schedule is important, especially for a breed prone to infections, excessive use of harsh cleaners or wiping too aggressively can actually irritate the delicate lining of the ear canal, making it more susceptible to infection. The goal of drying is purely to remove moisture, not to scrub or deep-clean. Use specific drying solutions, not just general cleaners, after water exposure.
On the flip side, under-drying is perhaps the more common and dangerous mistake. This happens when you think you've done enough, but residual moisture lingers deep within the canal. This is where the Beagle's ear anatomy really works against us. Just blotting the outer ear or giving a quick wipe often isn't enough. It's crucial to use the drying solution and massage steps to truly get that moisture out from the hidden nooks and crannies. If your Beagle is prone to ear issues, it's better to be overly thorough in drying than to risk an infection. Remember, prevention is always easier (and cheaper) than treatment.
The Pitfalls of Inappropriate Tools and Techniques
Using the wrong tools or applying incorrect techniques can do more harm than good.
- Q-tips and Ear Injury: As mentioned, Q-tips are a definite no-go for deep ear cleaning or drying. They are simply too small and rigid. While they might seem convenient for getting into tight spots, they almost always push wax and debris further into the ear canal, creating impactions that can block airflow and trap moisture. Worse, an accidental jolt can perforate your Beagle's eardrum, leading to severe pain and potential hearing loss. Stick to soft cotton balls or pads that only clean the visible parts of the ear.
- Human Hairdryers and Burns: The high heat settings on human hairdryers are far too intense for a dog's sensitive skin. Even on a low setting, the concentrated heat can cause burns, especially inside the ear, which can be incredibly painful and damage tissues. Pet dryers are specifically designed with lower heat and airflow settings, making them much safer. If you don't have a pet dryer, stick to towels and drying solutions.
- Forcing the Process: A Beagle that is uncomfortable or resistant to ear drying might try to pull away or struggle. Forcing them can make them fearful of the process, turning future ear care into a battle. Instead, approach it calmly, use plenty of praise and high-value treats (available from sites like Chewy or Amazon) to create positive associations. Break the process into smaller steps if needed, gradually building up their tolerance. If you struggle, consider speaking to a professional groomer or your vet for tips on handling and desensitization. Consistency and positive reinforcement go a long way in making The Five Minute Beagle Ear Routine a pleasant one.
| Ear Drying Do's | Ear Drying Don'ts |
|---|---|
| DO Use cotton balls/pads | DON'T Use Q-tips deep in the ear |
| DO Use pet-safe ear dryer | DON'T Use human hairdryer on hot |
| DO Use drying solution | DON'T Skip the drying solution after water |
| DO Massage ear base | DON'T Just blot the outer ear and think it's dry |
| DO Let your Beagle shake | DON'T Force your Beagle if they're resistant |
| DO Reward with treats | DON'T Over-clean or use harsh chemicals |
Beyond Drying: Recognizing When Your Beagle Needs Help
Even with the most diligent drying routine, sometimes an ear problem can still emerge, or you might spot signs of an issue that drying alone can't fix. Knowing when to call the vet is crucial for your Beagle's health and comfort.
Subtle Signs of Trouble Despite Your Best Efforts
Beagles are pretty good at letting us know when something's bothering them, but sometimes the signs can be subtle at first. Don't dismiss any persistent change in behavior, especially around their ears. Look out for:
- Increased Head Shaking or Scratching: A little shake after a bath is normal, but if your Beagle is frequently shaking their head throughout the day, or constantly pawing at an ear, it's a red flag.
- Unusual Odor: A healthy Beagle ear should have little to no smell. A strong, yeasty, sweet, or foul odor is a strong indicator of infection. This is one of the most reliable Beagle Ear Infection Symptoms to Catch Early.
- Redness or Swelling: Carefully lift your Beagle's ear flap and inspect the visible part of the ear canal. Any redness, swelling, or crustiness is a sign of inflammation.
- Discharge: Yellow, brown, or black discharge (sometimes waxy, sometimes pus-like) coming from the ear canal is a clear sign of infection.
- Pain or Sensitivity: If your Beagle yelps, flinches, or pulls away when you try to touch their ear, they are likely in pain.
- Changes in Ear Position: Sometimes an infected ear might be held slightly lower or flatter against the head.
These signs, even if mild, warrant a closer look. It's much easier to treat an ear infection in its early stages than to let it fester and become chronic or severely painful.
When to Make That Vet Appointment
If you notice any of the aforementioned signs, especially if they persist for more than a day or two, or if they are accompanied by general lethargy or fever, it's time to call your veterinarian. Don't try to self-diagnose or treat a suspected ear infection with home remedies without professional guidance. Over-the-counter solutions might mask symptoms or even worsen the problem if used incorrectly or if the wrong type of infection is present.
Your vet will be able to properly examine your Beagle's ear canal, often using an otoscope to look deep inside. They might take a swab to identify whether the infection is bacterial, yeast, or a combination, which dictates the appropriate medication. They can also check for foreign bodies, ear mites (Telling Beagle Ear Mites From an Infection), or other underlying issues that might be contributing to recurrent problems, such as Beagle Skin Allergies and Constant Itching that manifest around the ears. Sometimes, even if you are meticulous about Drying Beagle Ears Thoroughly After a Bath, a deeper problem might be at play that needs veterinary intervention. Timely treatment not only relieves your Beagle's discomfort but also prevents the infection from becoming more severe or chronic, ultimately leading to a happier, healthier hound.
Disclaimer
This article is for general informational purposes only and does not constitute professional advice. Laws, prices and regulations vary by location and change over time. Consult a qualified professional for guidance on your specific situation.